


Overview
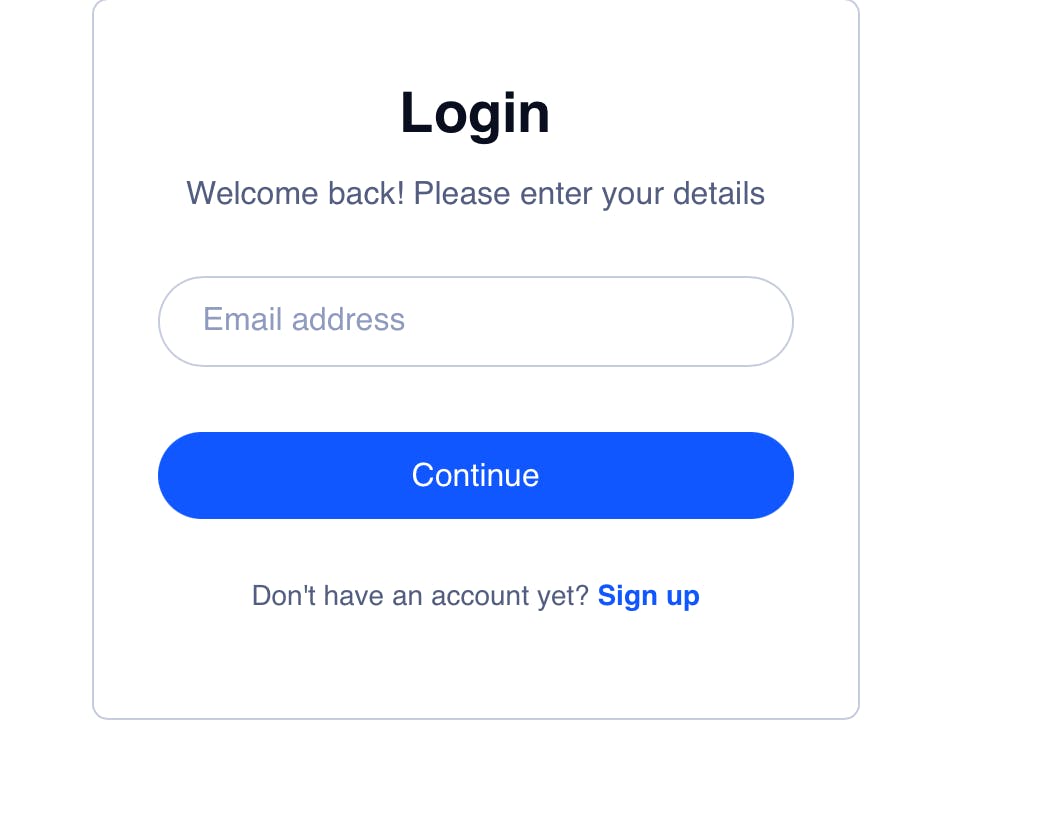
In this article, you will learn more about Corbado user authentication in general and how you can integrate it into your React application. So, if you're a developer who is looking to add an authentication system to your React application, then this article is for you. This article will mostly deal with Corbado's Web component and how you can use it. This guide wouldn't deal with the Corbado Sample React Application on GitHub, as this article will be very detailed on how to build a simple user authentication application from scratch. The article wouldn't go into the routing aspect, as the focus of this article is to give developers building with Corbado a better understanding of how the platform works with React and even its web component. Here in this article, we will be building this:
Connecting React With Corbado
The first thing you have to do is set up a development environment if you're trying to create an auth application with React and Corbado. Usually, if you're trying to integrate an auth application into your React application, it provides registration and login; it doesn't come with registration alone. Now, we have to get our hands a bit dirty, trying to set up stuff on this.
Building with Corbado
Creating a Corbado Account: If you do not have a Corbado account yet, you can sign up for one now. Just fill in your credentials, and you'll find your dashboard. This account provides you with unlimited logins and users for your application, a passkey analyzer, a frontend API and a backend API, and integration for native Android and iOS applications too.
Create a React Application: If you're familiar with building React, you should know how to create a React application, but if you're not familiar with it, run this command:
npx create-react-app my-demo-corbado-appHere's the second step to building with Corbado and React. This will create a simple React application. Next, you can run the
cd my-demo-corbado-appcommand or open the project in your IDE.As said earlier, we won't be routing, we will build a simple user authentication application with Corbado's Web component. One thing you need to know is that everything that has to do with its functionality comes from the Web Component, and that is why this article will revolve mainly around the Web component.
Navigate to
app.jsin your React project: This is now where we will do everything we can, as we will not be routing. If we were routing, we would have to create a couple of pages around that, but this article will not focus on that aspect.Add the web component to your application: In the
app.jsfile, you'll need to add the web component and install it with NPM. There are two different ways to use the web component: The first is if it's a new application with no users or an existing application with users.To have your web component in your application, you add the Web component's NPM module to your code in
app.js:import '@corbado/webcomponent' import '@corbado/webcomponent/pkg/auth_cui.css'Next, you install the dependency with this command:
npm i @corbado/webcomponentAbout the Corbado's Web Component
Corbado's web component does all the work for you without using Corbado's frontend and Backend APIs; it provides you with a good UI and seamless integration. It runs on CSS and JavaScript; you can learn a bit more about it in Corbado's NPM package documentation. It lets you work with technologies you're familiar with, such as React, Vue, Svelte, and even Vanilla JS. You can install it as a Script or install it using NPM. So, with Corbado's web component, you don't have to sweat at all; it makes your journey with Corbado very smooth. The fun fact is that you can add some styling to the integrated form the web component provides for you; you can even add other HTML attributes too. Using the Web Component, you have to set up the Application URL in the dashboard; the application URL is the domain where the Web component runs. Also, its redirect URL is the URL you want a user who is successfully logged in to be redirected to.
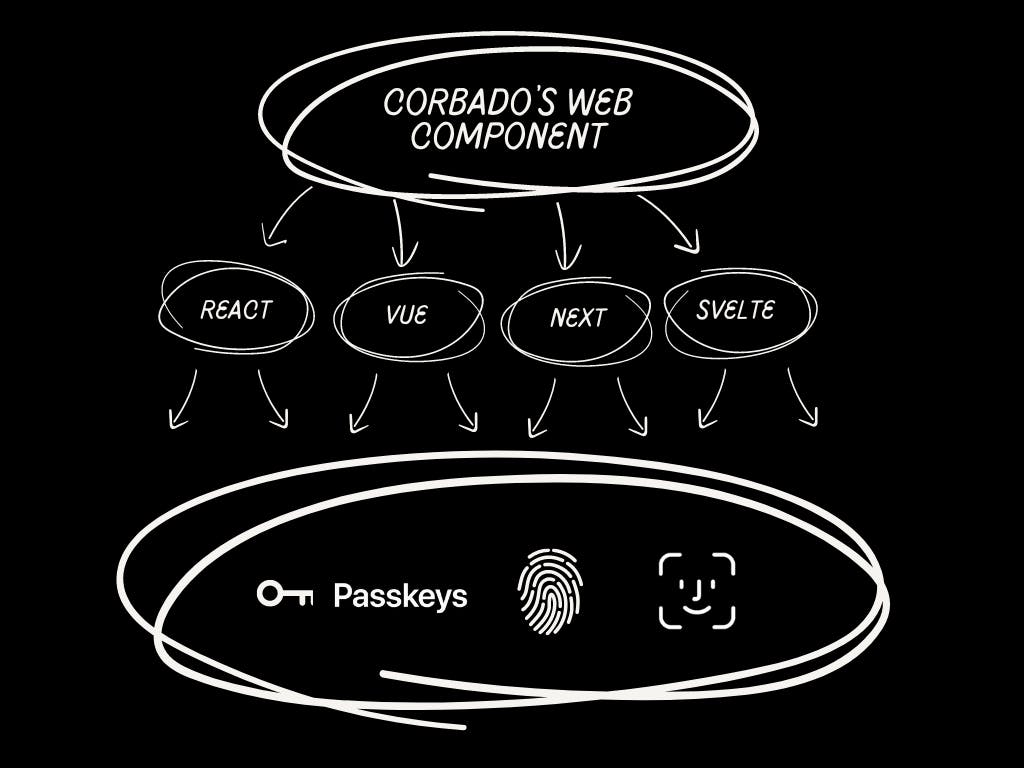
That's just a diagram of how it works; the Web Component is more like a bank with which your whole application works, as you can see. You can use it with any of those technologies, like React, Vue, Next, Svelte, or even your normal JavaScript, and then it gives you the application you want.
Adding a project ID to connect your Corbado account to the application: The next thing you do after adding the module and installing the dependencies for the module is to get your project ID from your dashboard and fix it up in your code. Add this to your code:
const CORBADO_PROJECT_ID = "PROJECT_ID";To get your project ID, you move to your dashboard, and you find it at the top left corner right beside Corbado's Logo, just like this:

Now you see how it's done. You now take the project ID and replace it with
"PROJECT_ID".Your code should look like this:
  import './App.css';
  import React from 'react';
  import '@corbado/webcomponent'
  import '@corbado/webcomponent/pkg/auth_cui.css'

  const CORBADO_PROJECT_ID = "PROJECT_ID";
NOTE ⚠️: You may find this
@corbado/webcomponent/pkg/auth_cui.cssinApp.js, it's included in the Web Component NPM package, for the CSS of the auth application.Configure authentication with Corbado from your Dashboard: In your Dashboard, you should check the Integration Guide tab under the Getting Started tab. You will find a section for configuration with Corbado. Just like this:

Once, you click the button, it should bring up a modal. In the modal, you'll have to create an authorized origin, which is the name and URL where the web component runs. Here is an example of how it should be:

As you can see in the image above, a random name was used, as was the origin (where the web component runs).
Defining Application URL, Redirect URL, and Relying Party ID: You need to define your Application URL (where your application runs), and Redirect URL (where you want the application to redirect you to when authentication is successful). Here's how you go about it:

As we wouldn't be routing, it was fixed to
http://localhost:3000(the same page). You can change it to another one if you want. The Replying Party ID is the domain without a port or protocol. Just as you see, we're making use oflocalhostalone.Embedding the web component in your code: Doing this will provide you with the UI and functionality you want. You, just add this to your code:
  <corbado-auth project-id={CORBADO_PROJECT_ID} conditional="yes">
  <input name="username" id="corbado-username" required autoComplete="webauthn"/>
  </corbado-auth>
As you can see, not much was added. You'll notice that everything was done in the UI for you, as you can see in the NPM package, as I said earlier.
How your code should be 👾:
  import './App.css';
  import React from 'react';
  import '@corbado/webcomponent'
  import '@corbado/webcomponent/pkg/auth_cui.css'

  const CORBADO_PROJECT_ID = "PROJECT_ID";

  function App() {
      return (
          <div className="App">
              <corbado-auth project-id={CORBADO_PROJECT_ID} conditional="yes">
                  <input name="username" id="corbado-username"
                         required autoComplete="webauthn"/>
              </corbado-auth>
          </div>
      );
  }

  export default App;
Running the application is easy, install the NPM in your project and run the
npm run startcommand. Then it gives you this in your browser: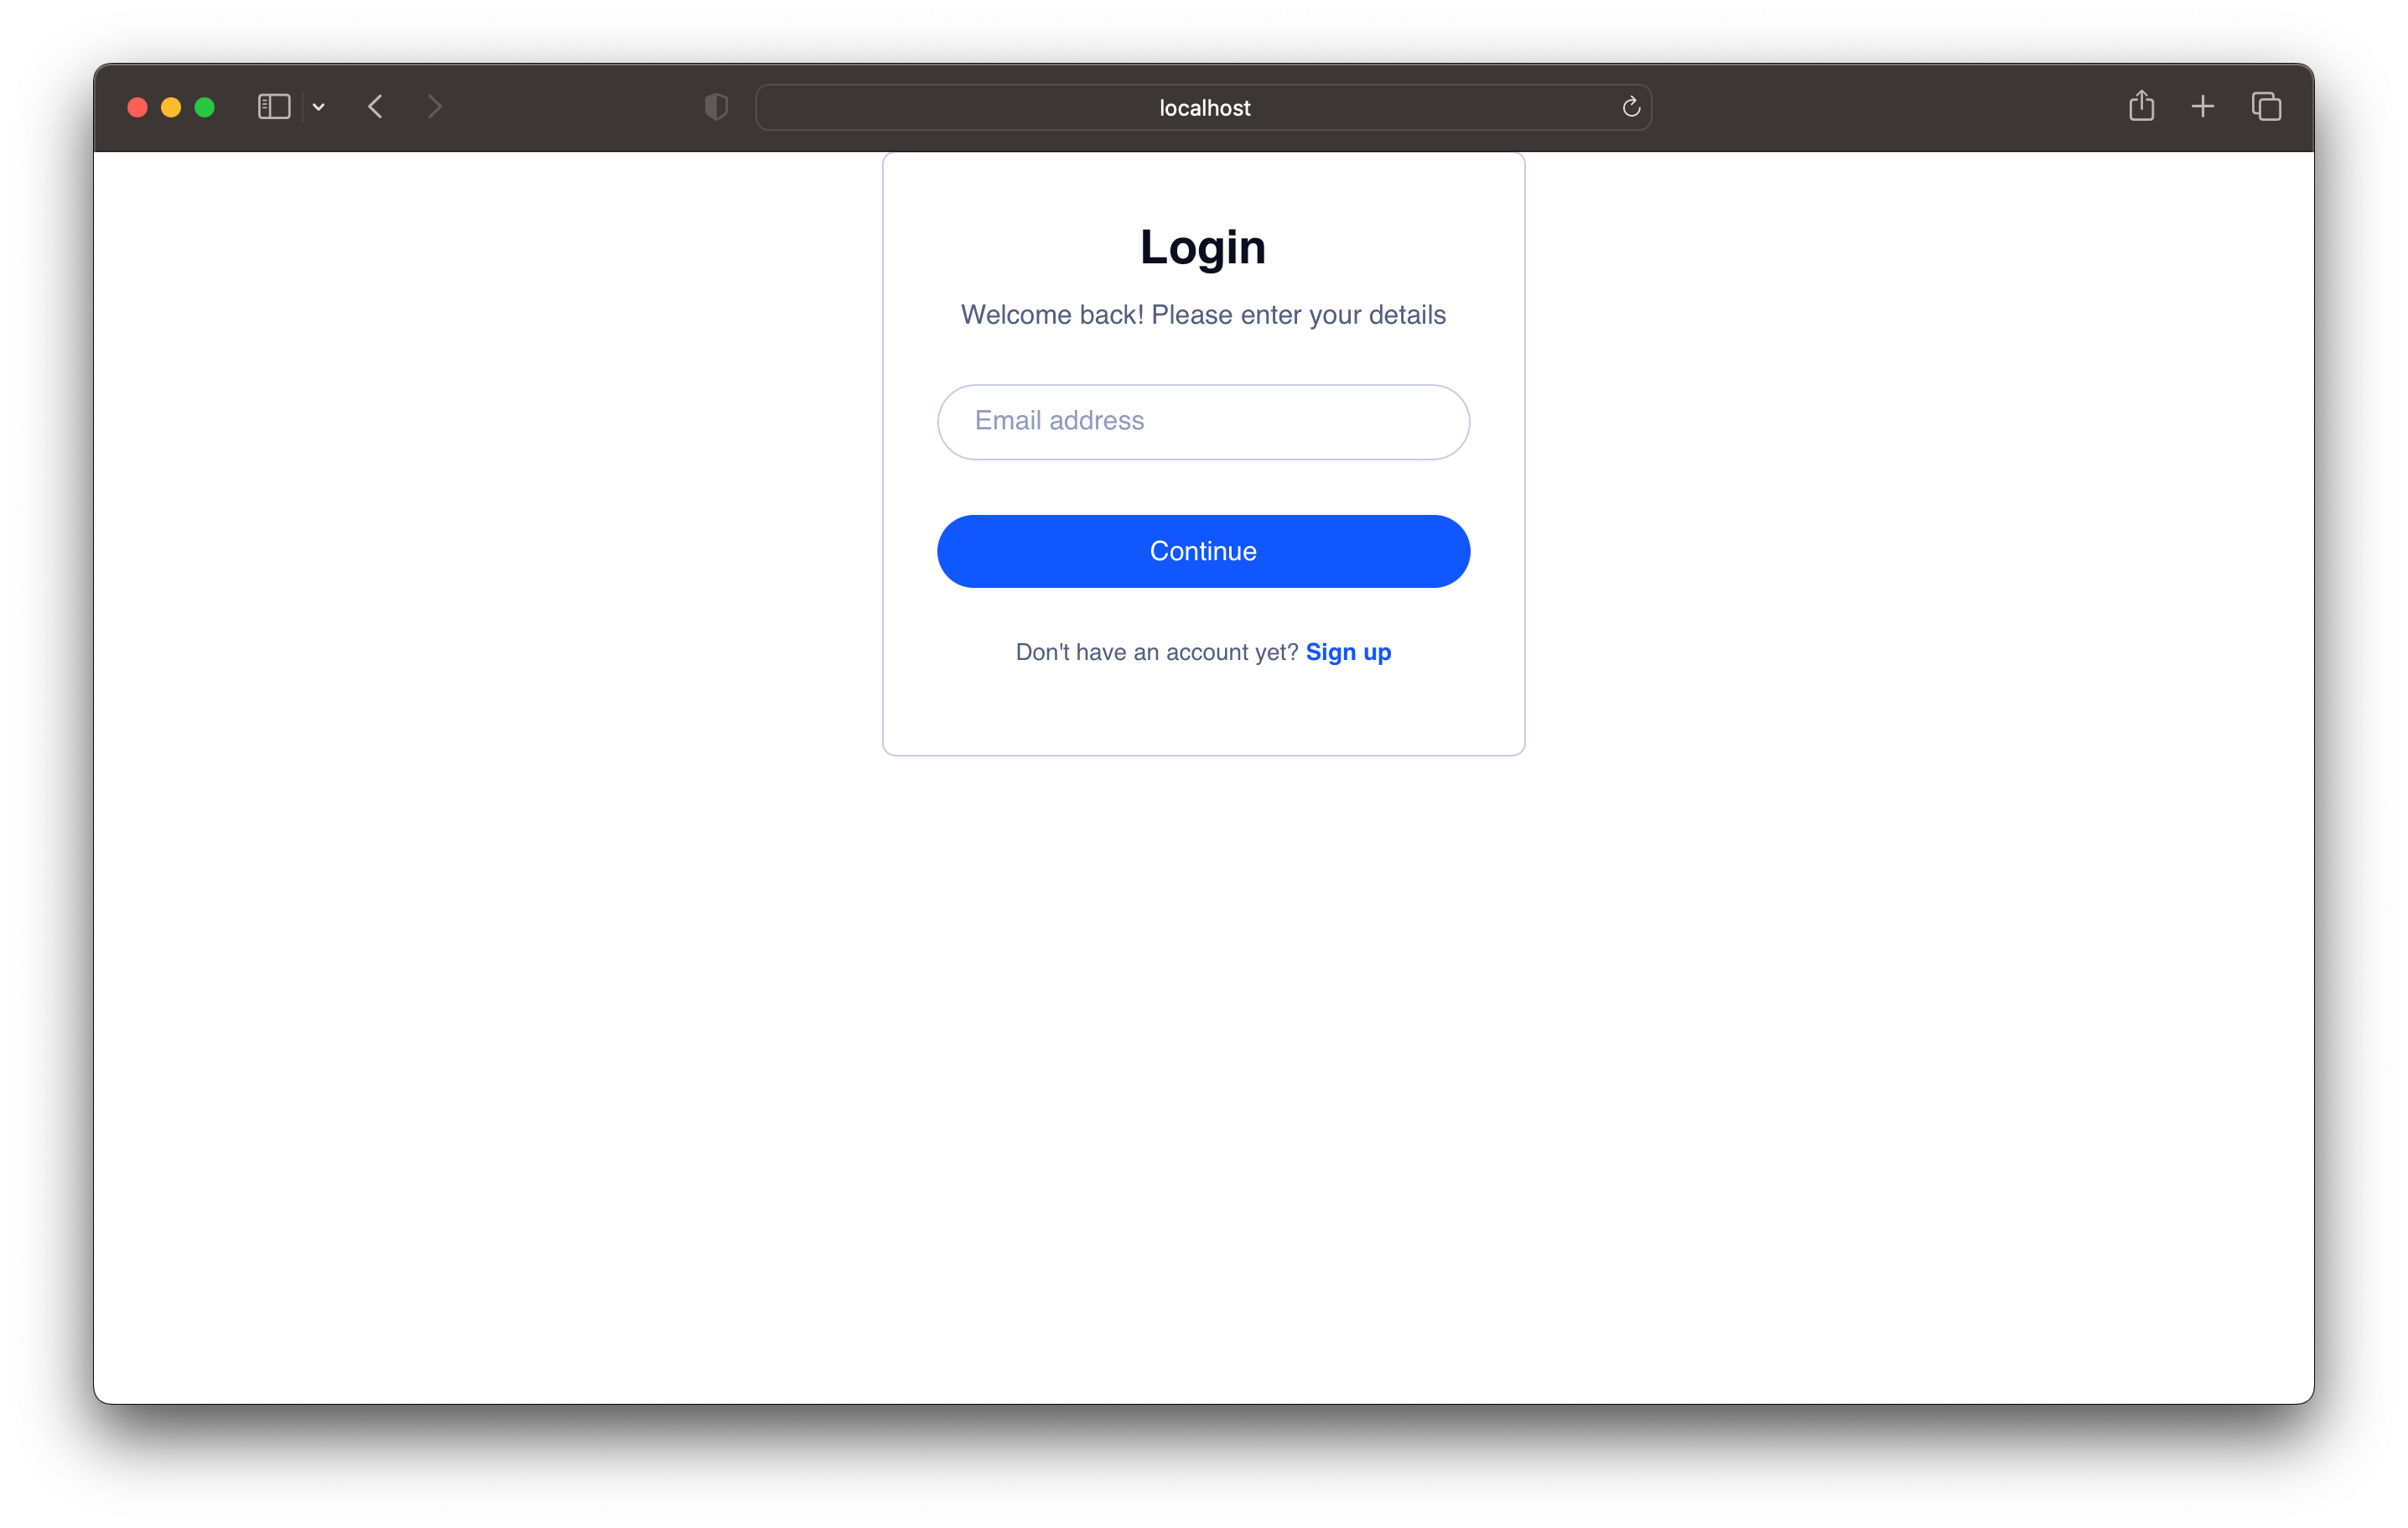
Looks good, yeah?! That's just everything about building with Corbado's Web Component. It's very accessible to use. You don't have to do anything in the other files, as we will be working with
App.jsonly.
Conclusion
I'm glad you've made it to the end of the article, and I hope you enjoyed reading every single bit of it. And now, you see how easy it is to build with Corbado's Web component, and I also hope you've gained some knowledge of how Corbado works. I hope this article helped you, as it covered a lot more about the Web Component than anything else. If you're interested in having a look at a full example of Corbado's React Application built with the web component, here you go. I hope to have you read other articles in the future. Please, if you're reading this, Sign up for Corbado, react to this article, and share it with your network! I'm looking forward to hearing what you think about Corbado in the comment section. See ya!